2017 2.2 Sportsman Build
Well its that time... Time to freshen up collection and build an new sportsman rig...
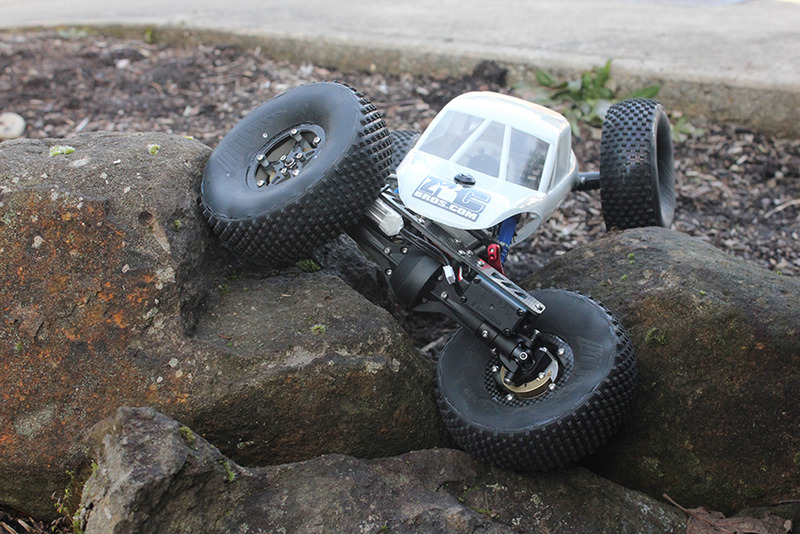
This rig will replicate my last build very closely. It lasted nearly 3 years, never let me down and was the best driving comp rig I owned. This Spider build will see some small changes. I've learned that less is more sometimes, you won't see a ton of fancy bling on this rig, just components needed to be strong, light and preform well.
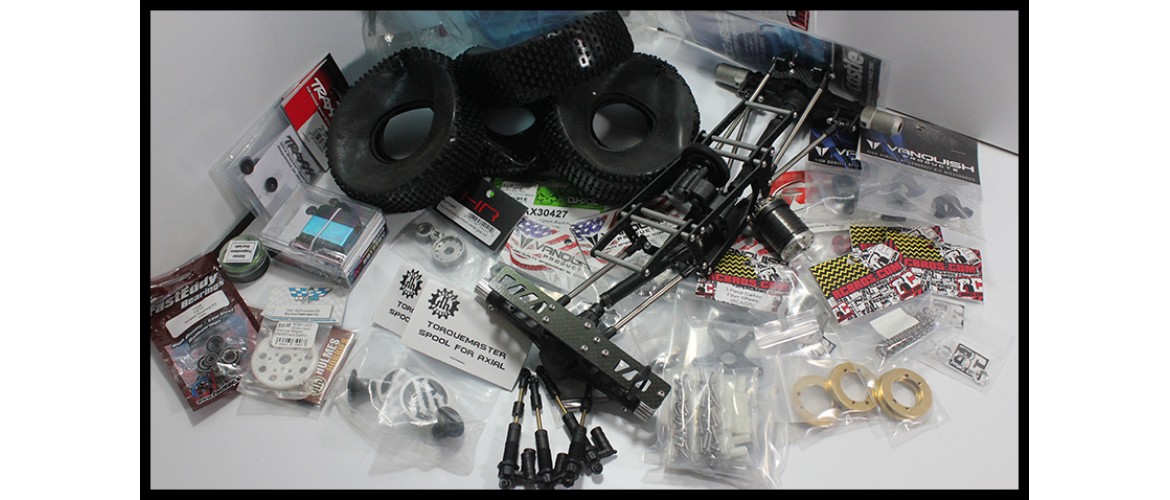
Rough Parts Pile above includes:
Fast Eddy Bearing Kit (a Must)
Nylon Spur Gear (smooth as silk, thanks sourdojack)
Holmes Lockers
Axial UD/OD Gears
HR Aluminum Center gear set
RcBros Burly Tubes front
VP Knuckles and Chubs
Silver Voodoo's
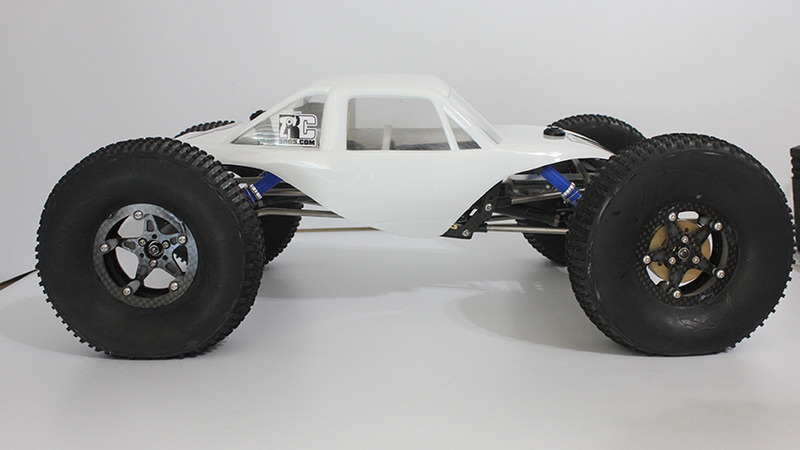
Parma Xciter Body
Futaba HV S9177SV (stepping up to try something new)
Holmes BR Mini
CC BEC
Holmes Custom RcBros 520 Handwound Motor
Extreme Gear lube thanks for a random member
CI Foams as always
RcBros Egressor Shocks with all the goodies
RcBros Knuckle weights
RcBros 3 Piece CF wheels
RcBros Front and Rear 4 link mounts
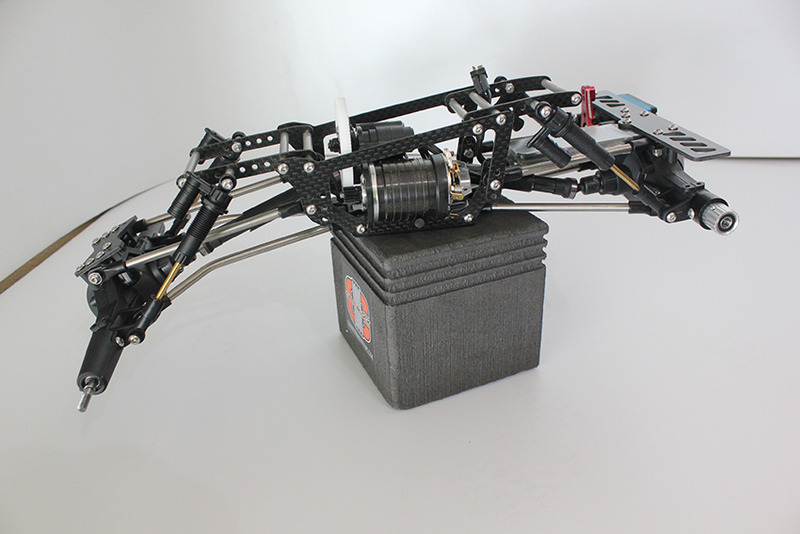
RcBros Rock Spider Chassis
Time to get building....
Weight on this rig isn't my biggest concern, but it is fun measuring weight in different parts and not sacrificing strength in the process. Reducing rotational mass is always something I consider.
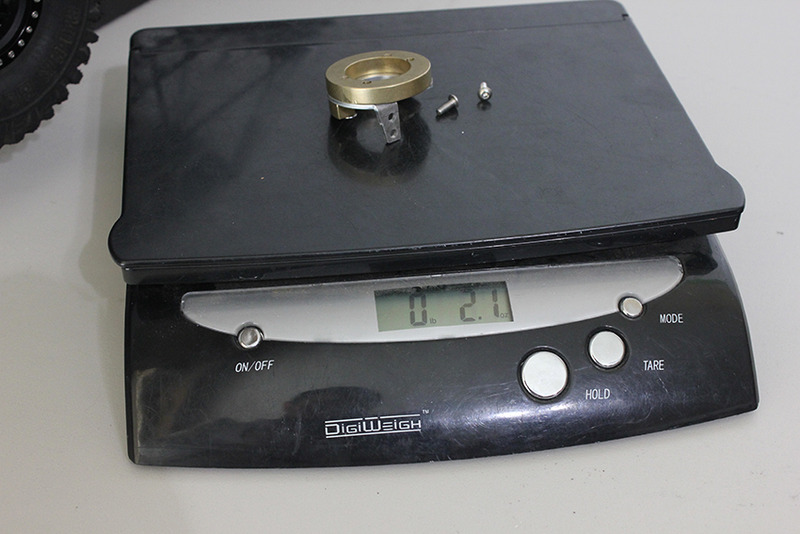
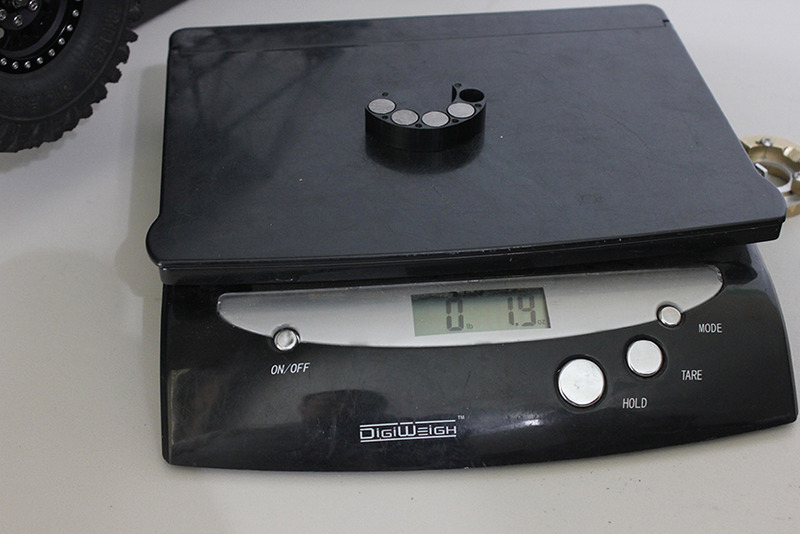
I had Holmes Hobbies and VP Incision lockers to choose from so I decided to see where they compared on the scale.
Incision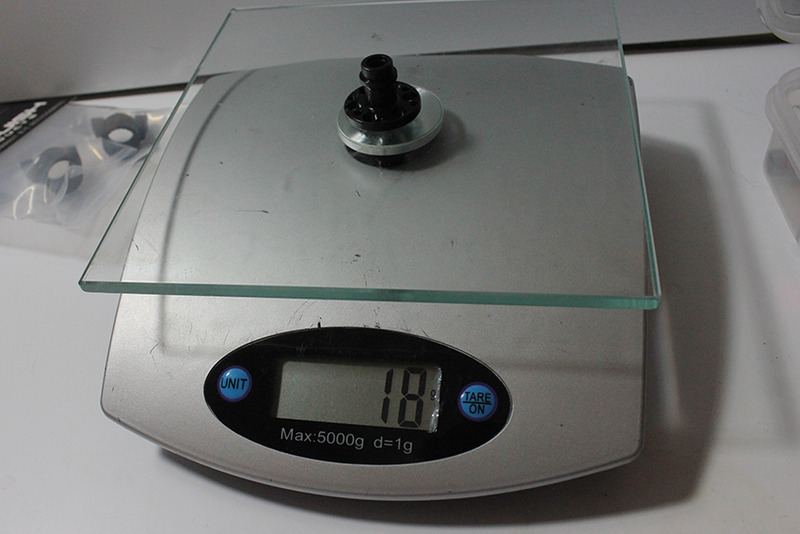
Holmes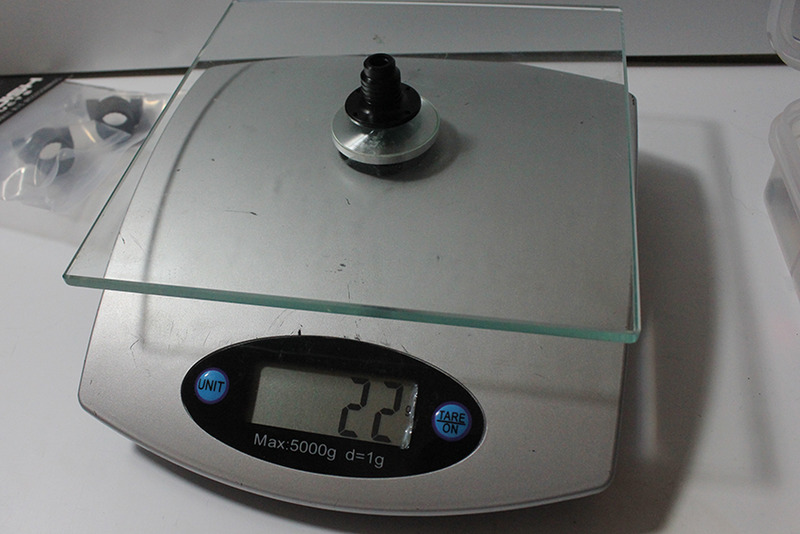
So we decided to use the incision lockers with under drive gears in the rear axle.
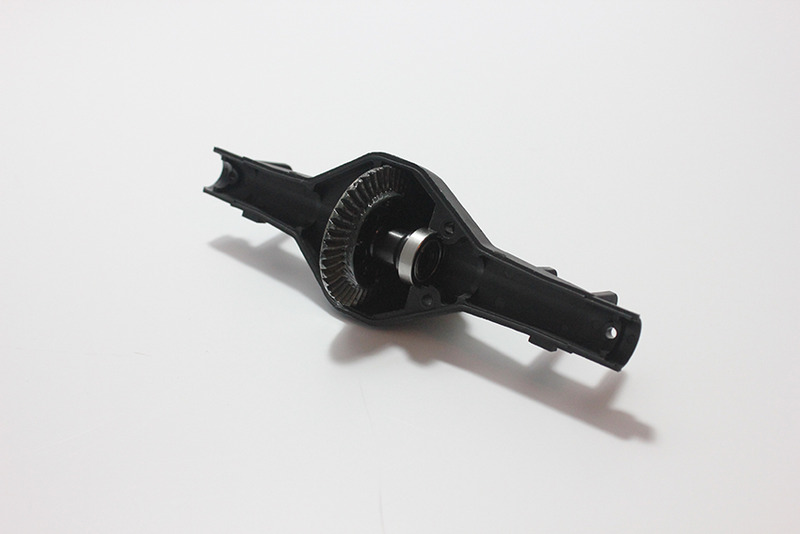
When we do the burly tubes up front and convert the sporty to XR10 width we have to do something to the rear to get close to the same width.
You either flip your 3 piece wheels backwards, Run extreme wheel hubs or you can use yeti lockouts and curry center vp axles. I was curious to see where the yeti lockout combo compares to that of a stock or vp AX10 lockout.
VP lockout and VP SCX10 Axle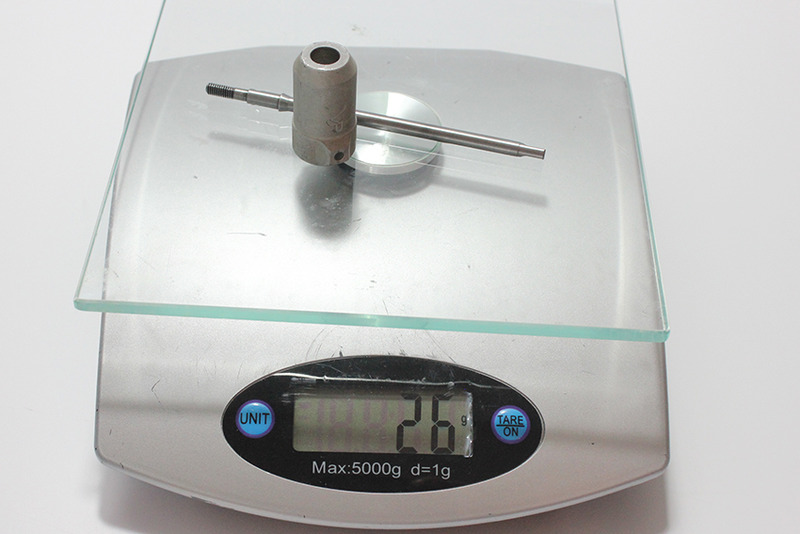
Yei Lockout and Curry Axle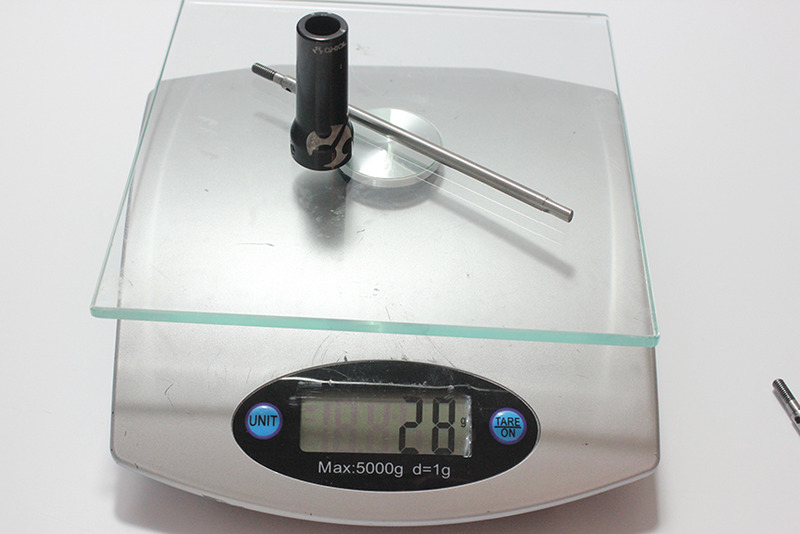
Stock lockout and VP SCX10 Axle
Planning to use the RcBros 3 piece wheels, I chose to stick with my stock AX10 Lockout with the VP axle.
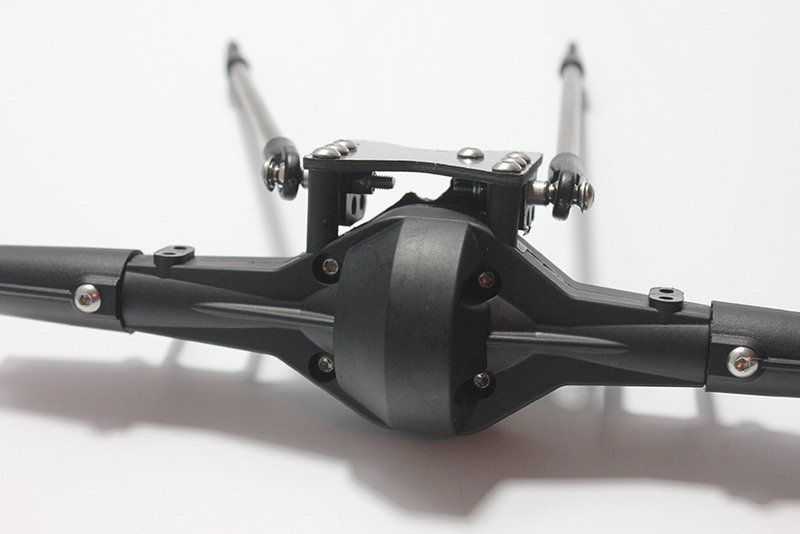
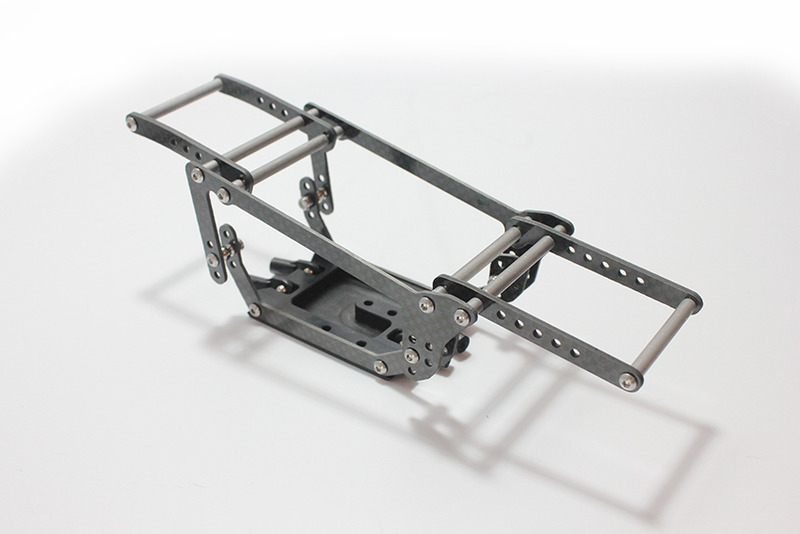
To finish the rear end I'll be use the RcBros rear 4 link mount, but this go around I'm flipping the link mounts to the underside. This did require a slight modification to the delrin mounts, but a quick and easy task using the dremel. 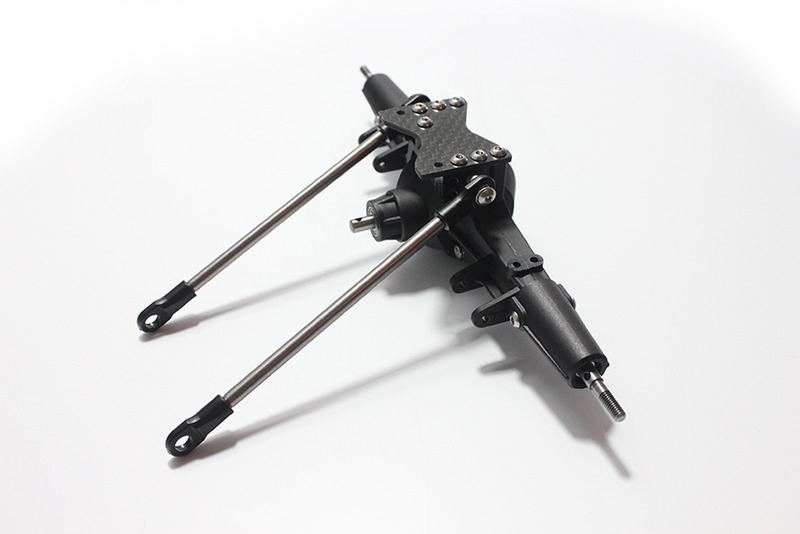
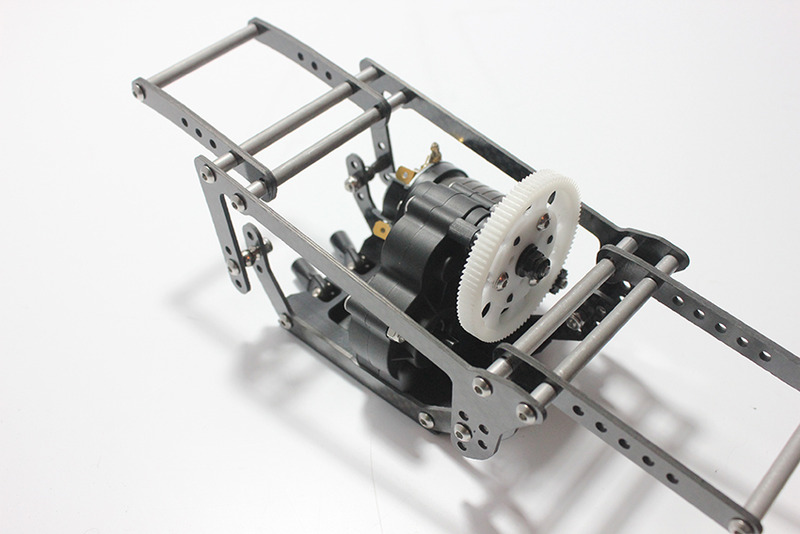
Next was the transmission... Weighing in at 74G with all stock bearings and gears.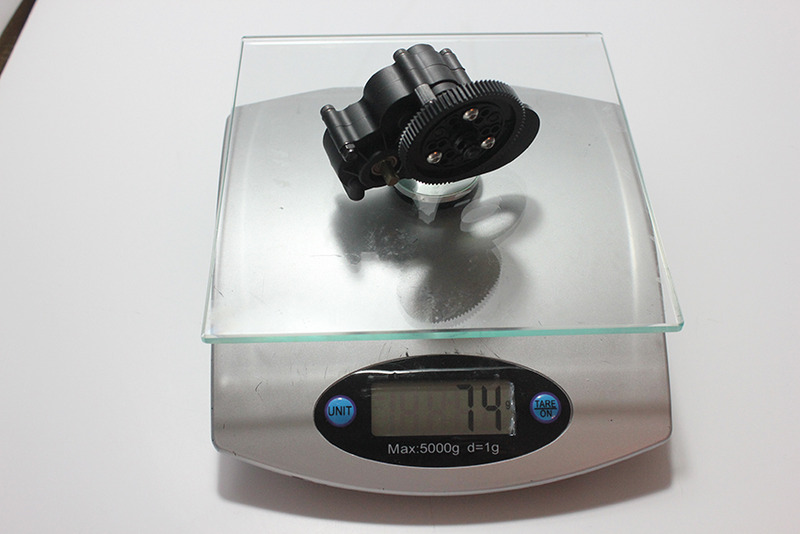
Tom-Foolery came over to help with assembly, thank you Tom!
Went with the Hot Racing Aluminum gear set. Also added a Next Level Ti shaft from CKRC, VP outdrives. Robinson Racing Delrin Machined Spur and no slipper. Still need to get a CG motor mount.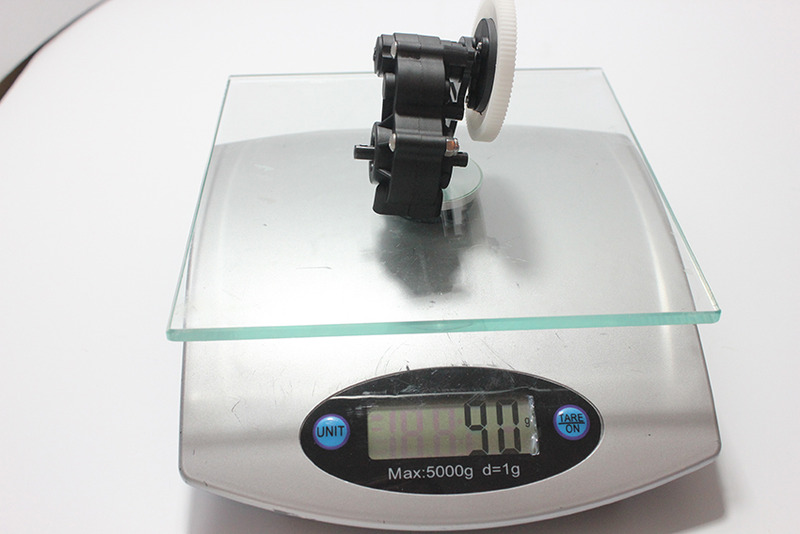
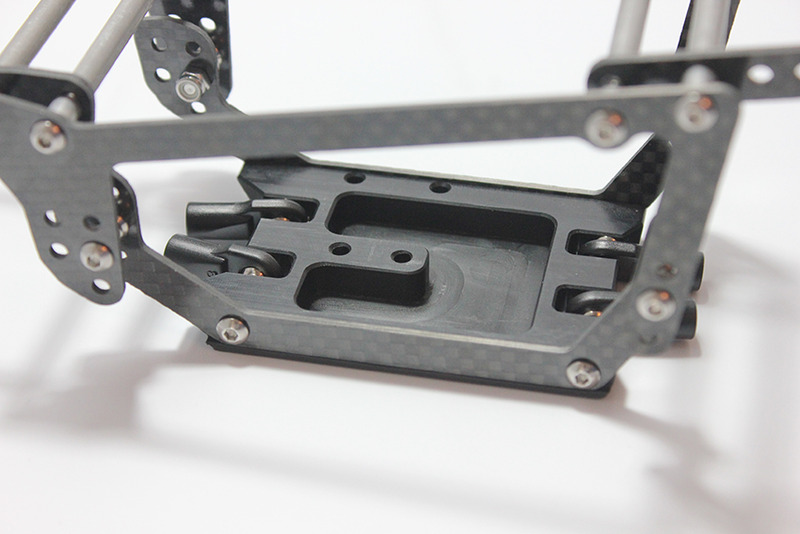
Chassis will obviously be the RcBros Rock Spider chassis. A real Delrin skid plate (not UHMW or other plastic, REAL DELRIN), aluminum spacers and stainless hardware. Adjustable front and rear shock mounts. 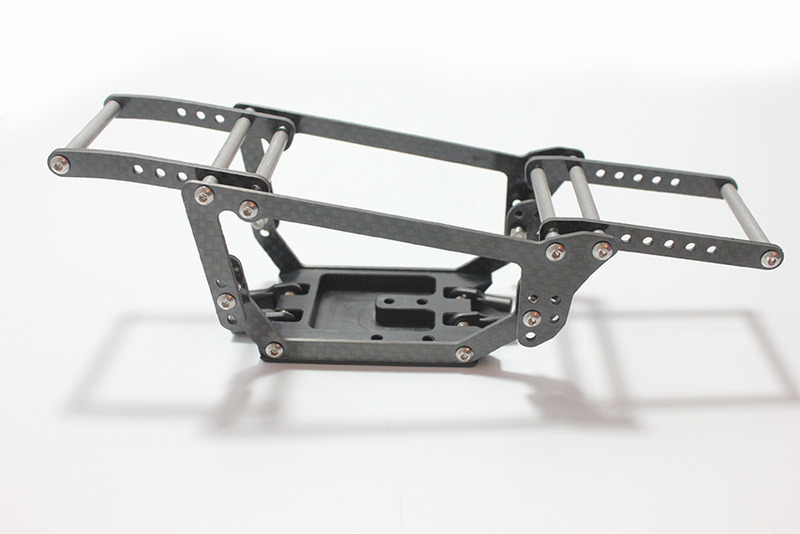
I've always ran Holmes Hobbies motors and will continue to do so, this rig is no exception. Getting a nice Holmes 520 motor!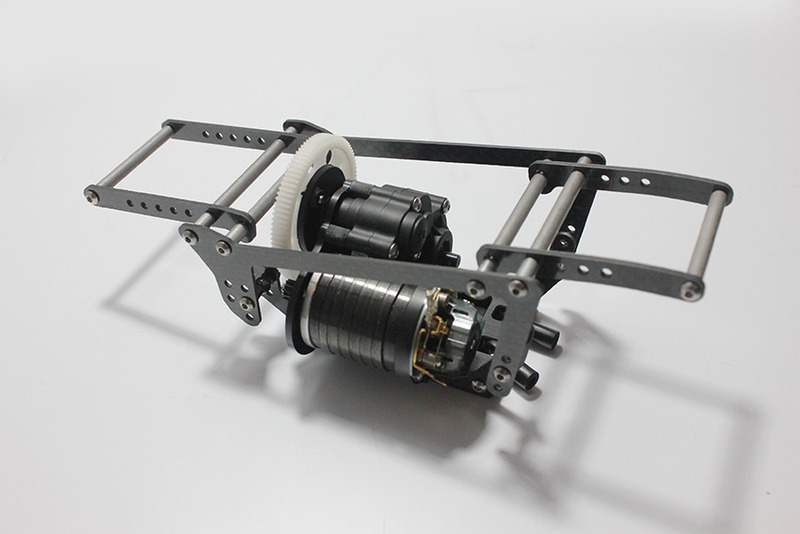
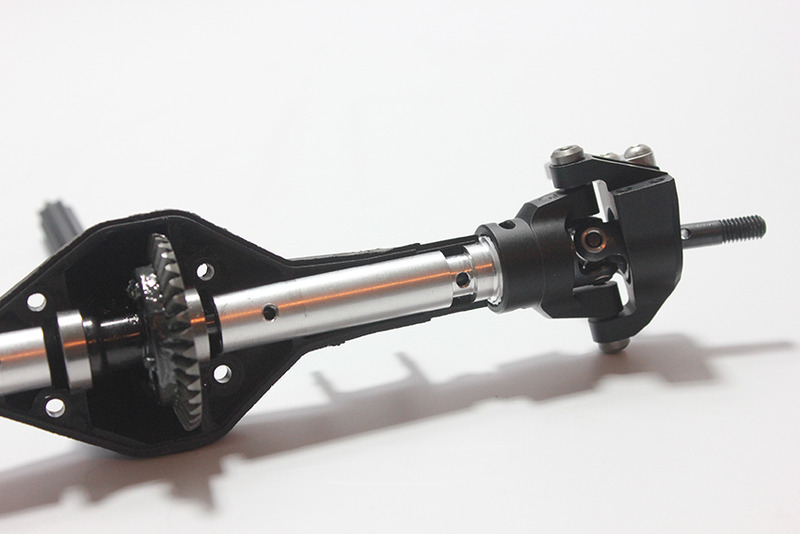
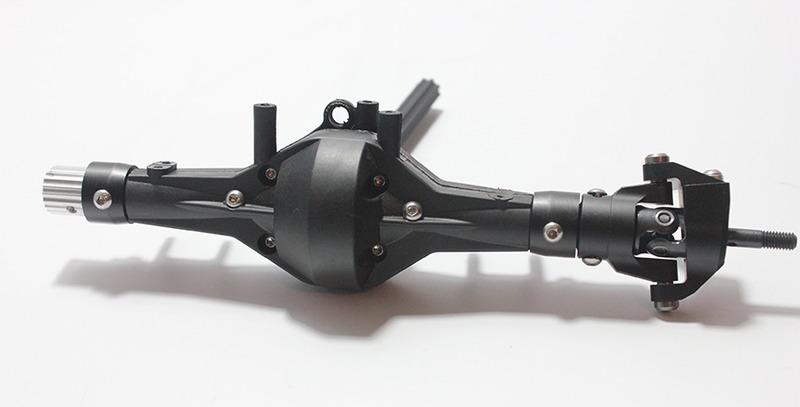
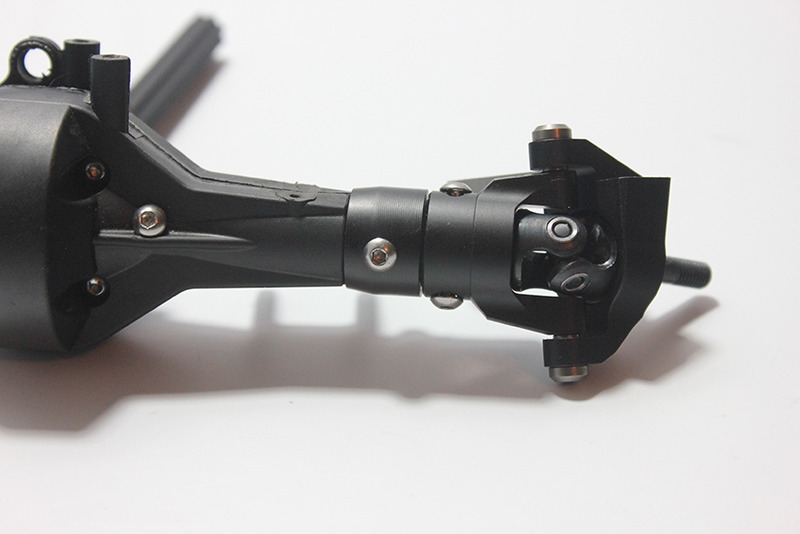
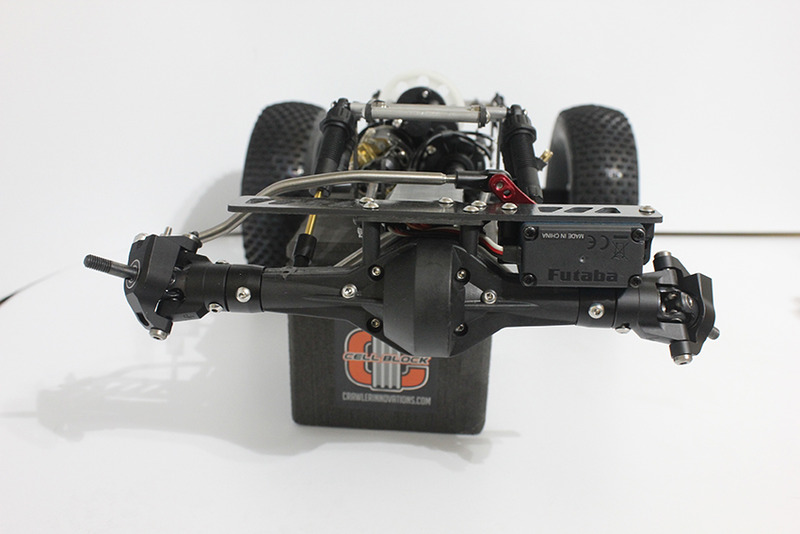
The front axle got the Incision Locker, Over Drive Gears, Fast Eddie bearings, VP Knuckles and Chubs and RcBros Burly tubes. A nice touch, if your not aware are these King pin screws from Tamiya. They are a must have IMO. 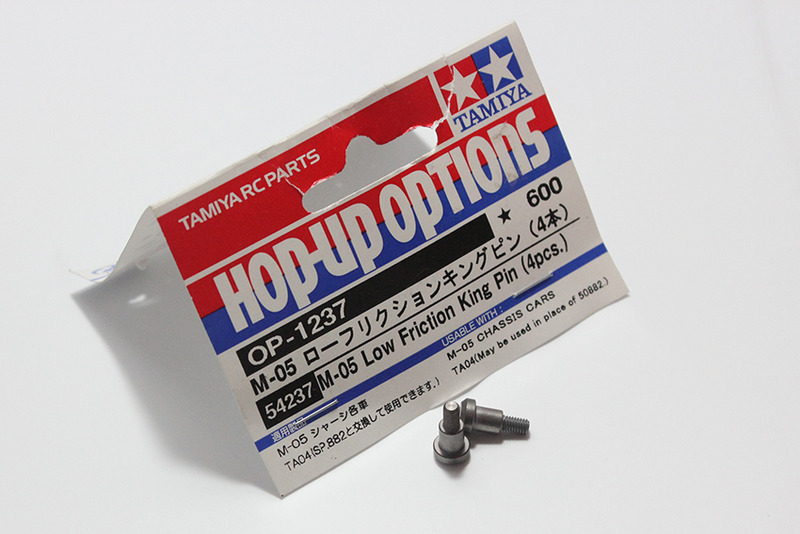
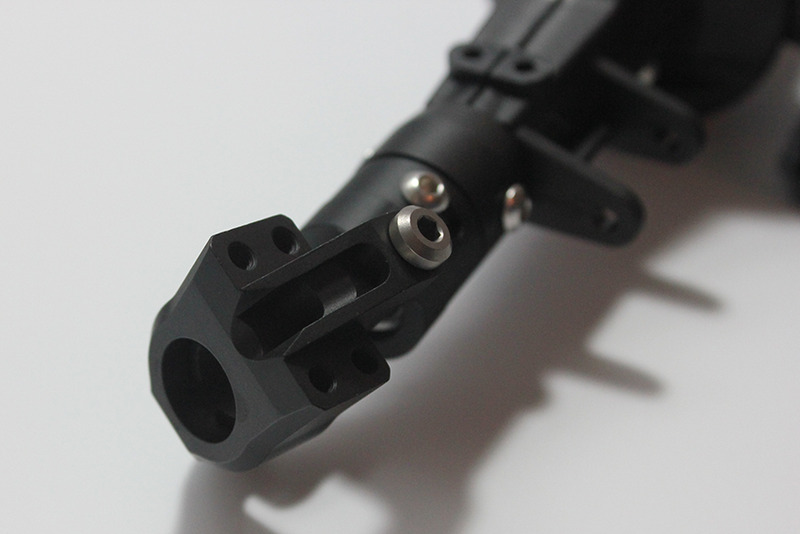
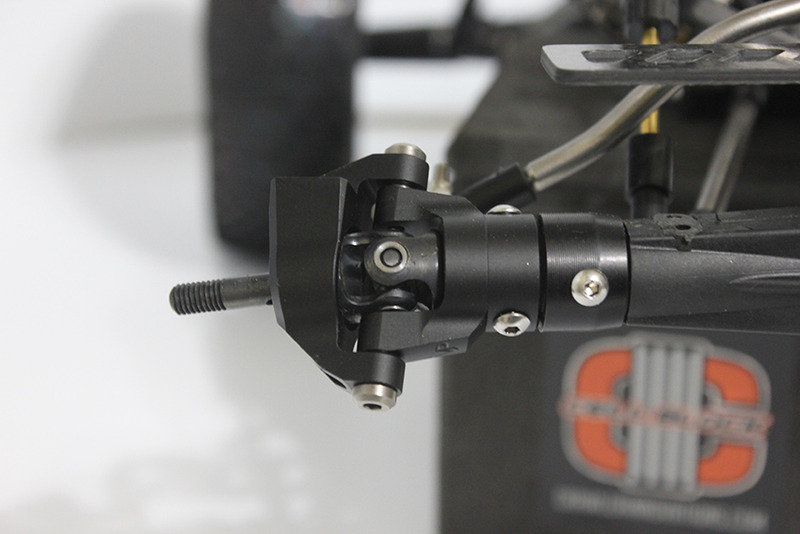
For steering I chose to make a custom set of XVD's from Vanquish Products. Wraith longs inners and the rest of the pieces to make them work.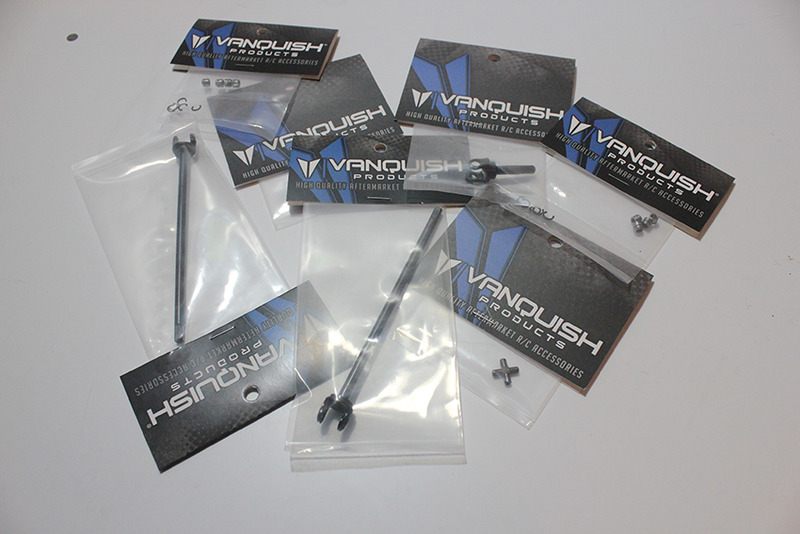
Assembled and ready for the dremel.
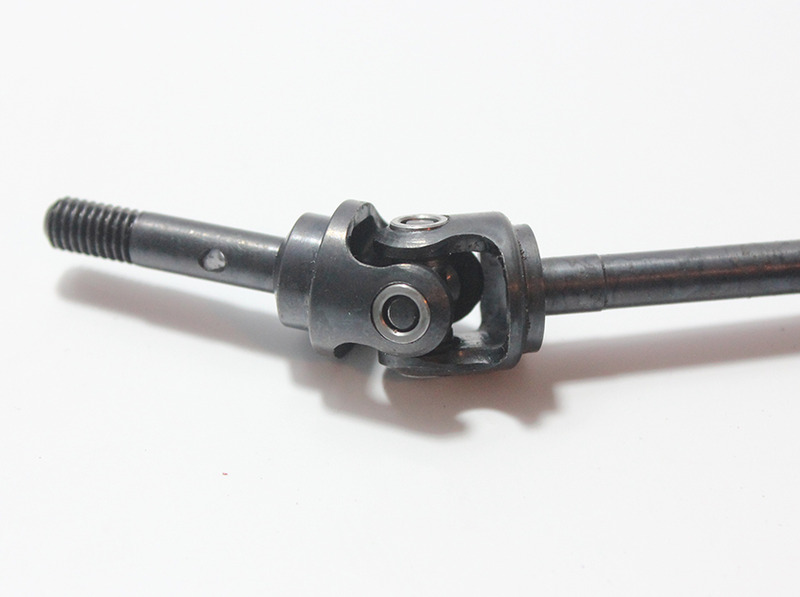
I didn't use any measuring devices here other then my eyeball. I installed the assembled long shaft into the VP Chubs and Knuckle.
I then pulled the back axle half off leaving the burly tubes installed. Then I lined the chub up with the inner portion of the burly tube splines and marked where I thought the shaft would need cut.
Using the dremel I cut the shaft to length. Then with alot of patience, I tried my best to evenly grind down to flats on the shaft. I was able to get a very snug fit into the incision locker.
If you can use a dremel, you can do this mod. 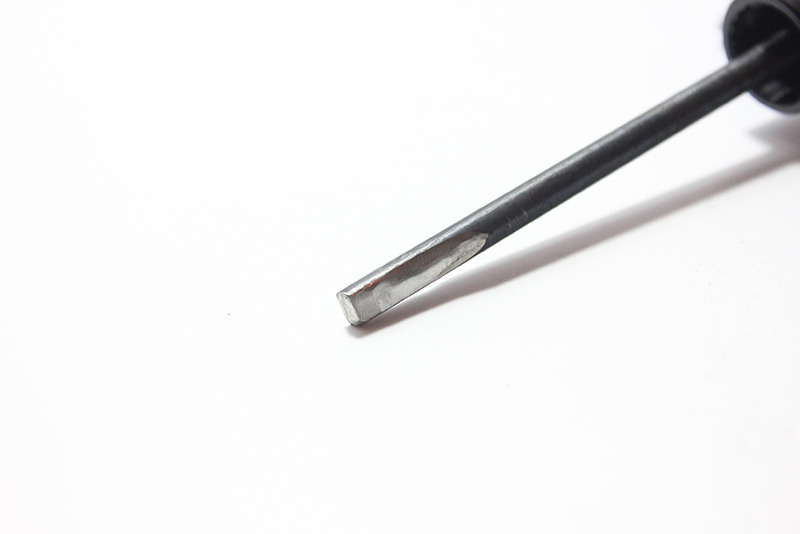
It's really been fun tinkering on this rig and getting back to the route of why I originally loved this hobby. No fancy tools, no big wallet, just a clean fun sporty build.
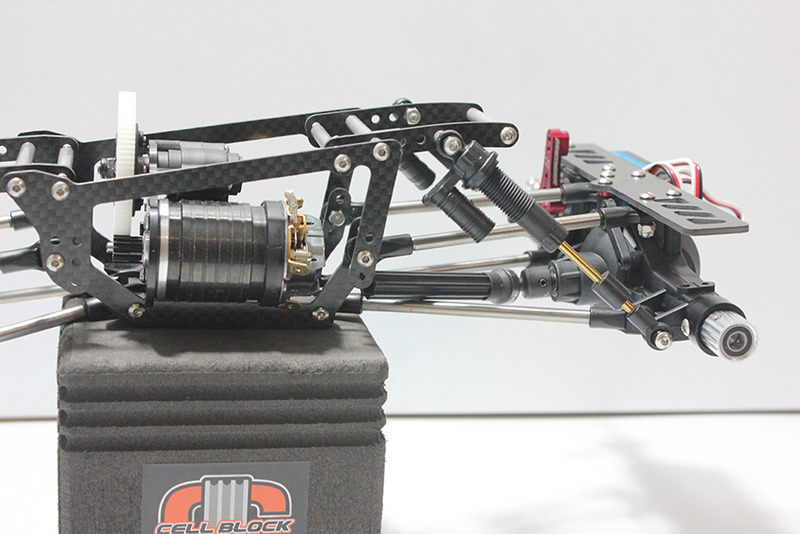
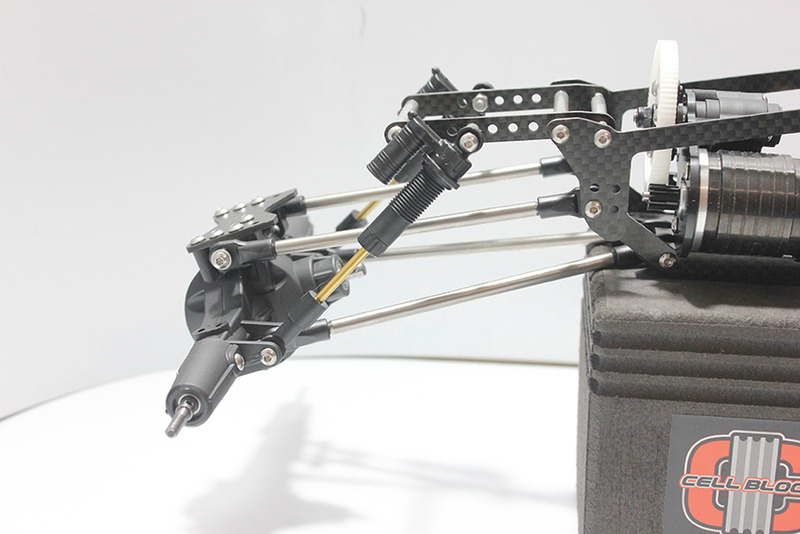
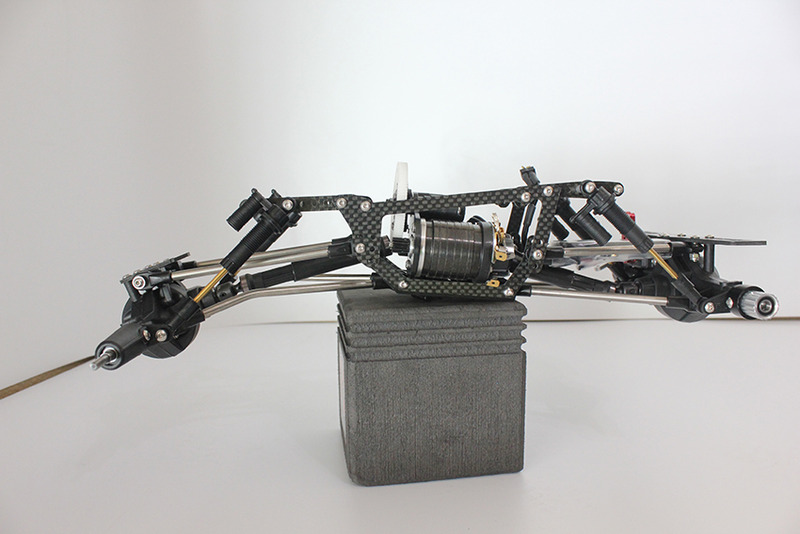
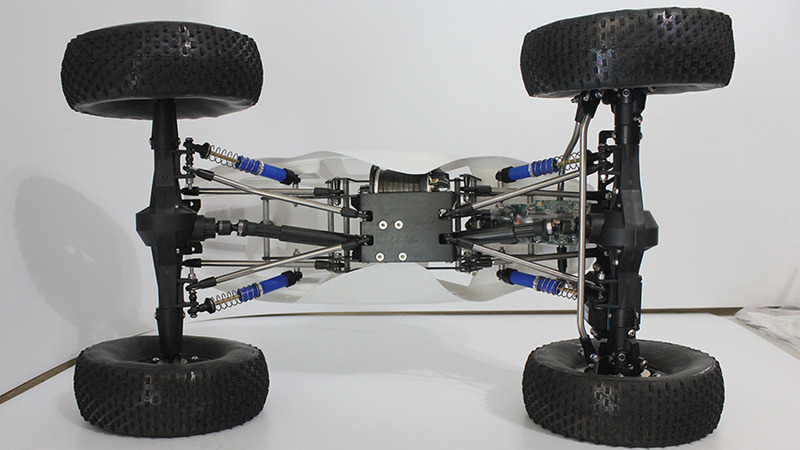
I've had a stock pile of VP Ti links here for some time, it made suspension mock up extremely easily. I think I'm just a hair over legal length currently, but I do plan to bend the lower links so things will change.
I needed to mock the suspension up so I could finish up the electronics.

Cut up a new electronics mount to go in between the front link mounts.
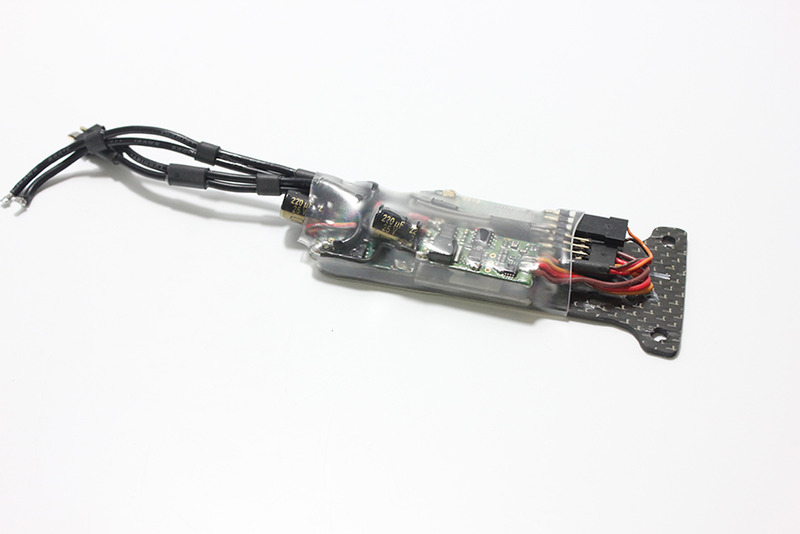
Holmes BR Mini, Castle BEC and FrSky TFR4-B receiver.
Soldered everything together and then bound to the radio.
I prefer to cut all my ESC, BEC, and servo wires and recrimp new ends on them. Its easy and quick to do if you have the right tool.
You'll need the following:
JST-SH Connector Crimping Tool
JST-SH Servo Plug Set
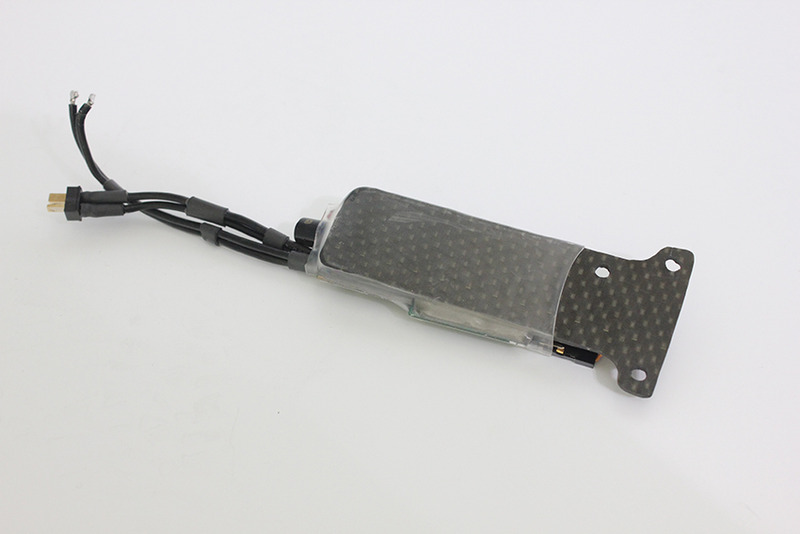
Now that I have everything shortened and mock up complete, everything will get conformal coated.
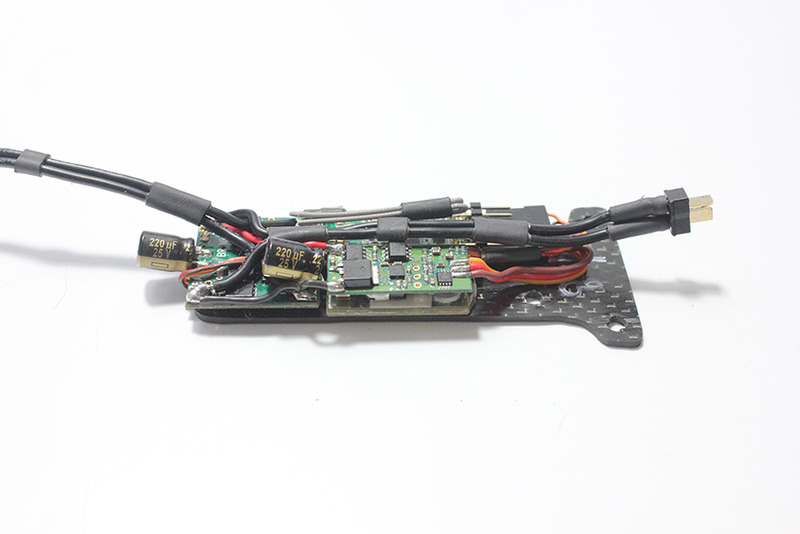

Electronics have been conformal coated and heat shrunk on to my mount. CF does conduct electricity, so I may sure to install 3M double sided foam on the bottom side of electronics.
Tom-foolery came over and nailed out the rear links.
He has this killer ebay Thailan tube bender which allows you to bend two links at one time.
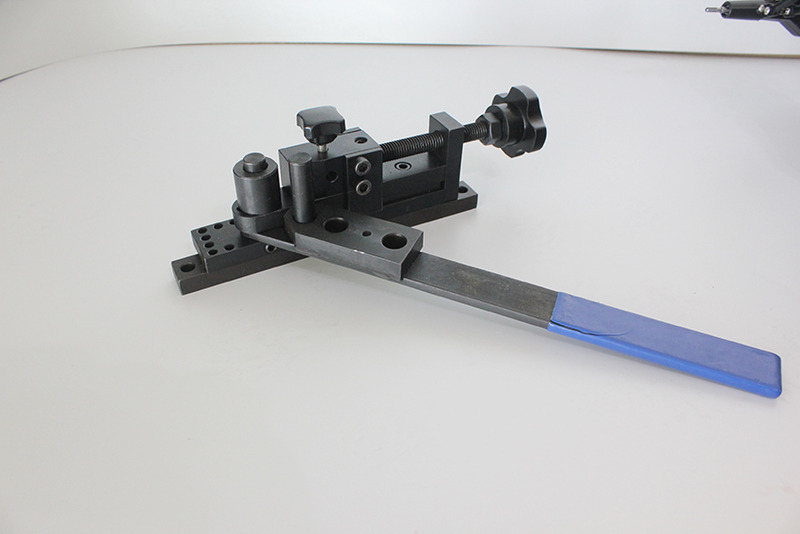
All the links used are from VP, no custom mods other then the two rear bends.
Rear Lower Links: 3/16 X 115MM
Rear Upper Links: 3/16 X 105MM
Front Lower Links: 3/16 X 95MM
Front Upper Links: 3/16 X 85MM

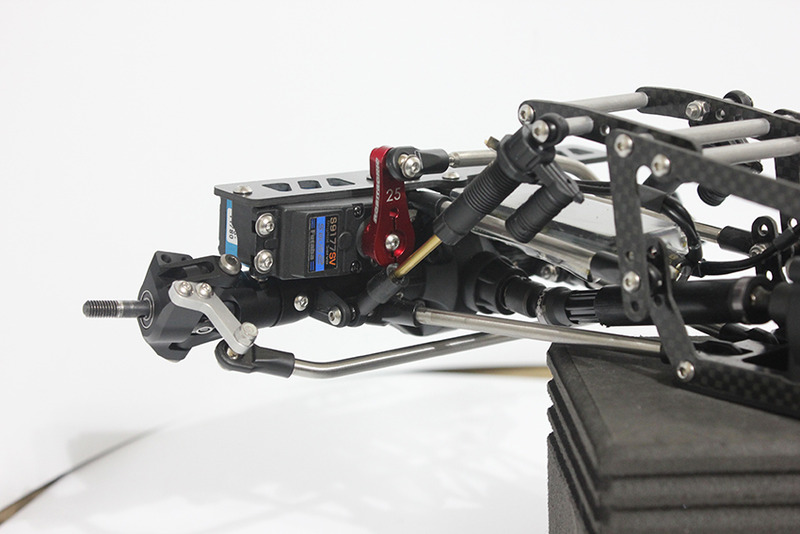
Got both VP XVD's modified and in the sporty
When tom foolery was over, we decided to try the stock Axial servo mounts, keeping the servo as in as possible to protect it from some beating.
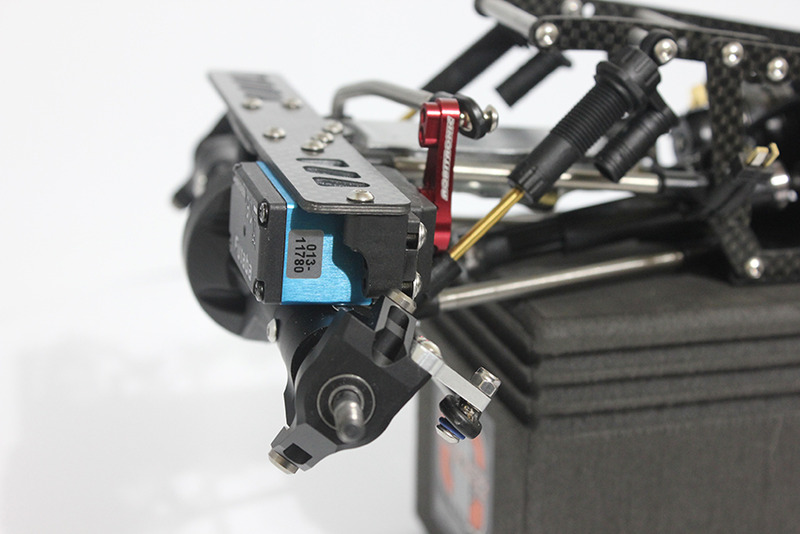
You'll also see the small blue o-rings installed on the bottom side of the tie rod. This helps keep the tie rod from flopping down. The tie-rod comes from RC 4x4 stainless who makes a great tie-rod for our XR10 width burly tubes. I usually have these in stock.
The drag link is a different story and does require some custom bending. Sourdojack was able to find a use one I had, and make some adjustment bends to make it work. Full steering lock to lock with no interference.
Had to get this done ASAP so skipped a few pictures. Ask questions if you have them.
Added knuckle weight, couldn't decide if I wanted to use brass or Tungsten. Also was curious weight difference vs. cost to get there. Our brass setup is certainly cheaper.
Unfortunately these tungsten holders wouldn't fit our wheels.
Went with our Blue egressor shocks using our wedding ring spring collars.
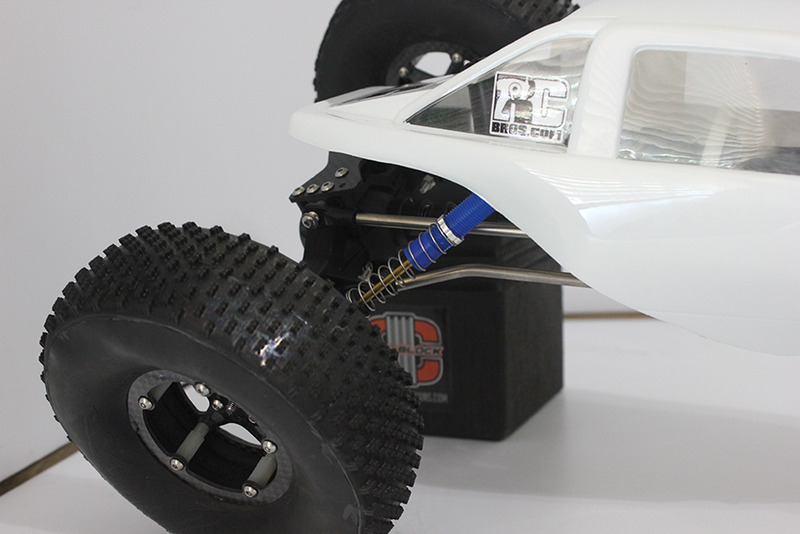
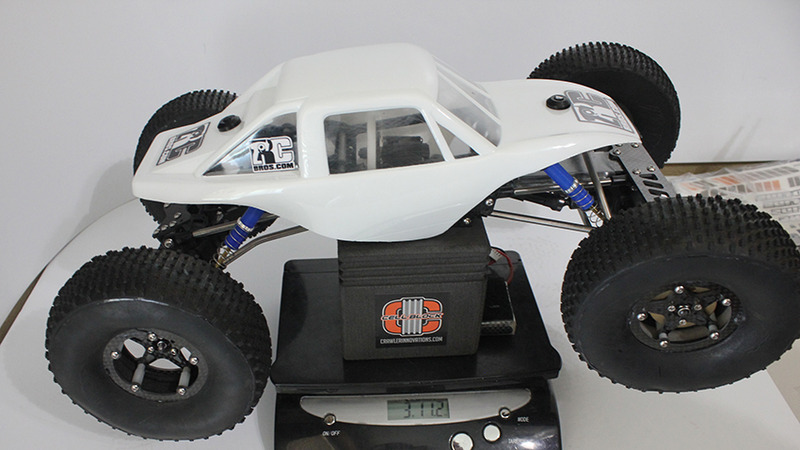
Basic paint job on this one. KISS... Keep it Simple Stupid.
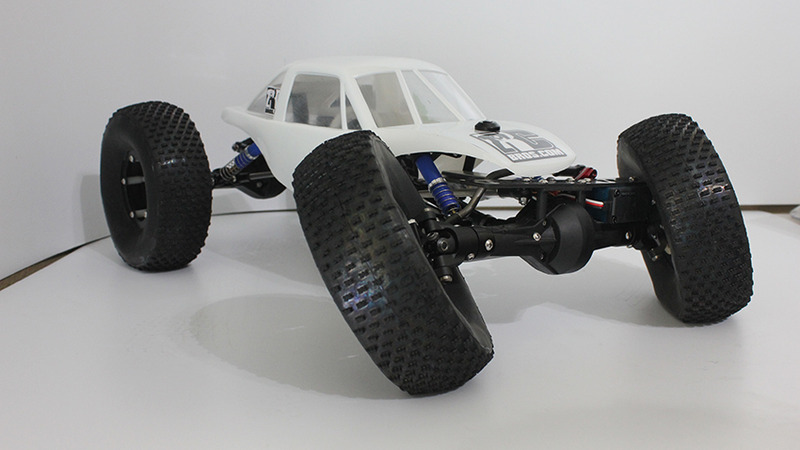
Ready to Run weight is 3lbs 11.2oz